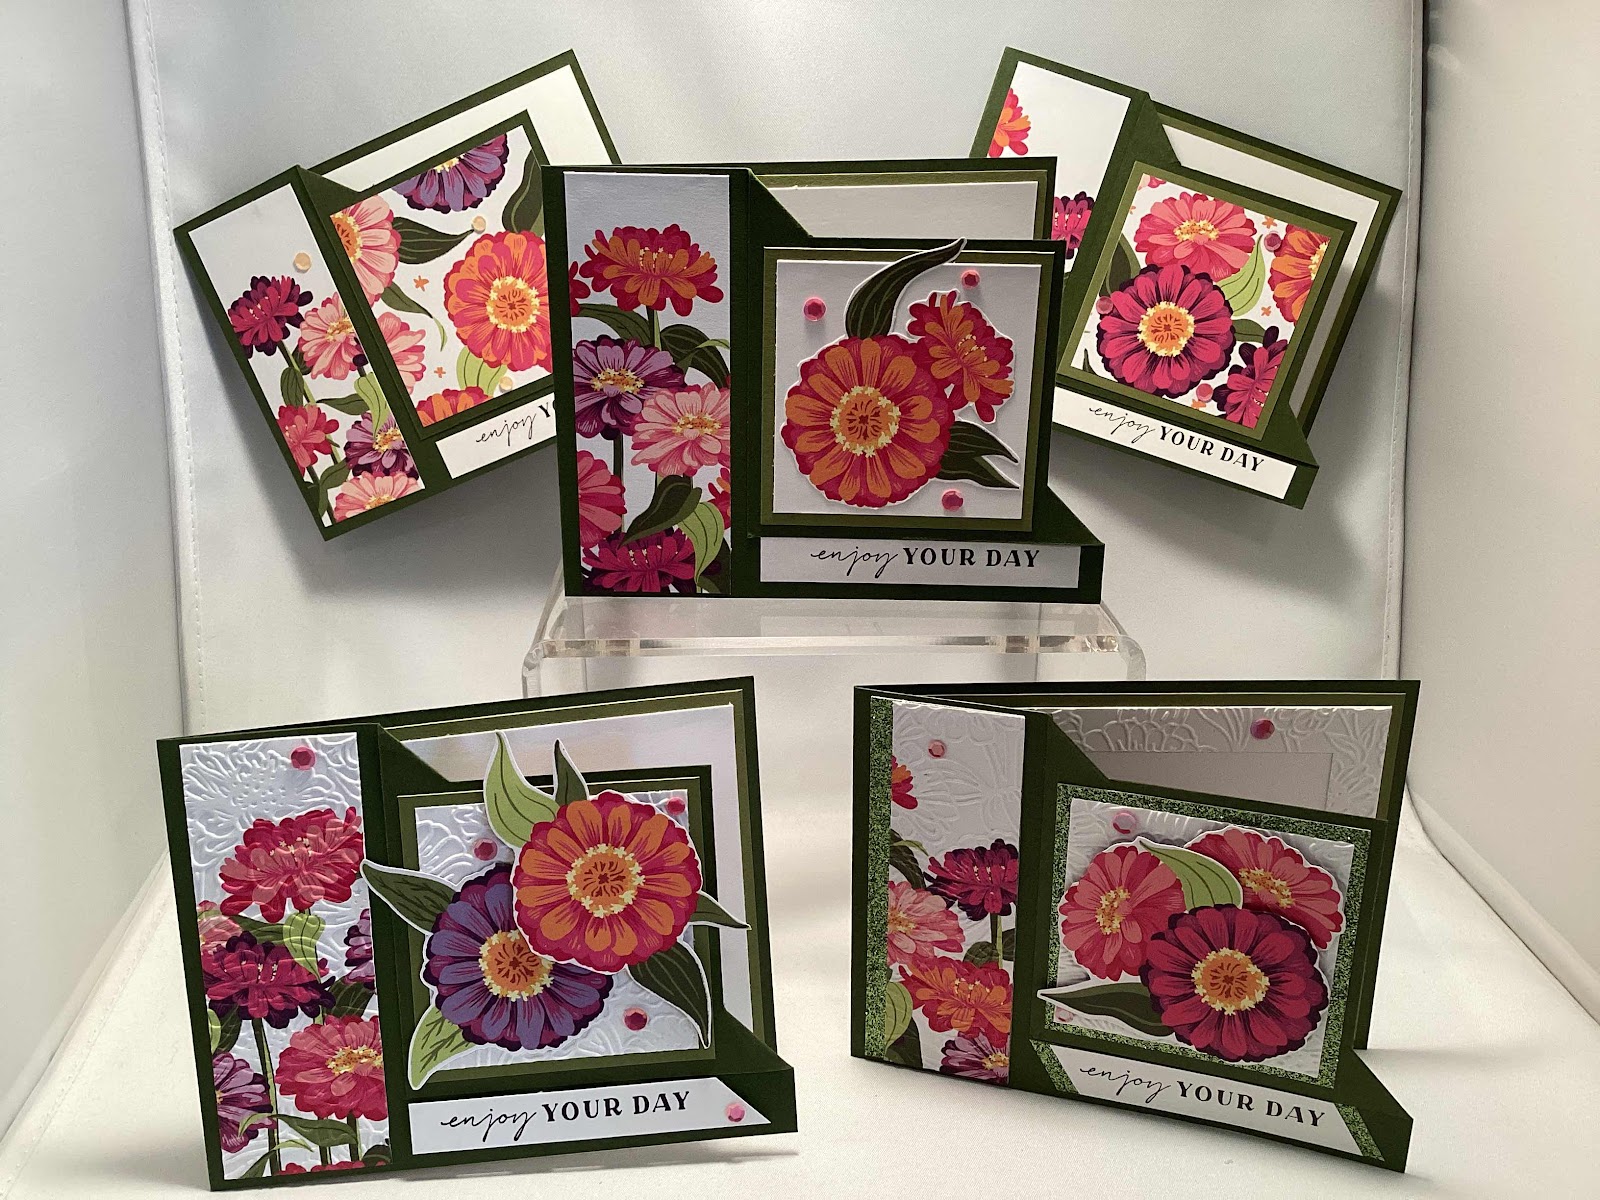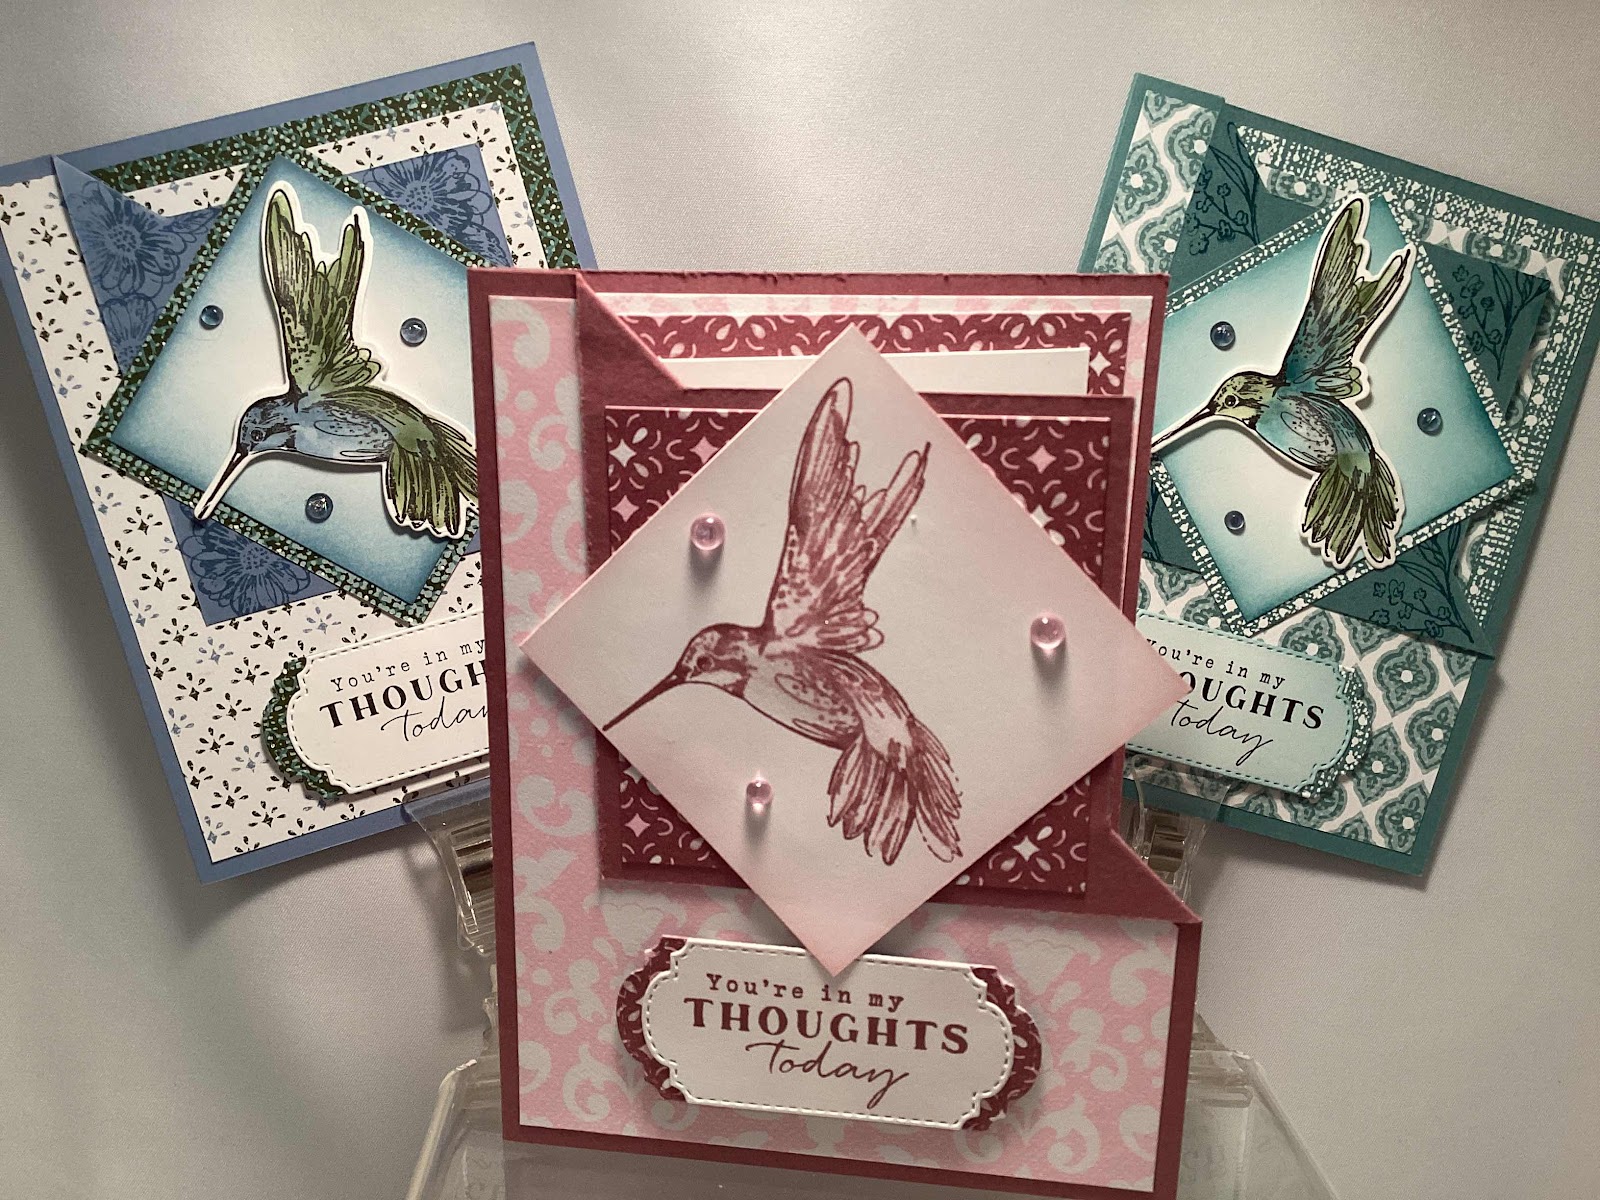
Stamp & Dies Set Thoughtful Expressions
Poetic Expressions DSP1st sheet front mat & smaller inside mat cut 4” x 5 ¼” and 3 ½” x 4 ¾”
Coordinating 2nd sheet cut 4 x 5 ¼” inside mat, outside focal mat 2 ¾” x 2 ¾” and scrap for label
Coordinating Cardstock Cut 5 ½” x 8 ½”, score at 4 ¼”
Basic White Cut 3” x 4 ¼” inside mat, 2 ½” x 2 ½” outside focal mat and 1 ½” x 2 ½” for label &sentiment
Bling Tinsel Gems Three-pack
Instructions:
1) Cut a card base 8 ½” x 5 ½”, score at 4 ¼”
2) Mats for the outside of the card are 2 ¾” sq and 2 ½” sq
3) Mats for the inside of the card are 4” x 5 ¼” and 3 ¾” x 5”
4) Create a cutting template 3” sq as shown, this will be the cutting guide for the top right corner of your card base. You will cut from the 3” mark up to ⅝” from the top and right edges of the card.
5) Once this cut has been made you will gently push the inside point of the corner up toward the top right corner. The two uncut ⅝” sections will fold at an angle to make the “flip fold”.
6) Decorate the card as you like.
For the Moody Mauve design I simply stamped the hummingbird with Moody Mauve ink and blended it out a bit with the shimmer pen.
For the next two sets I simply water colored the humming birds with coordinating ink and then added some glitter pen.
I didn’t like the white inside mat showing so I just offset it to the left and added a second generation image to the mat.


Stamp Set
Simply Zinnia
Optional Embossing Folder
Zinnia 3D Folder
Flowering Zinnia DSP
Cut border sheet in strips 1 ½” x 4 1/8”
fussy cut flowers from sheet with flowers on white background
Mossy Meadow Cardstock
Cut 4 ¼” x 11”, score at 5 ½”
Old Olive Cardstock
Cut 4” x 5 ¼” inside mat, 2 ¾” x 2 ¾” outside focal mat
Basic White
Cut 3 ¾” x 5” inside mat, 2 ½” x 2 ½” outside focal mat and ½” x 3 ¼ for sentiment
Bling
Shiny Sequins
Instructions:
1) Cut a card base 4 ¼” x 11”, score at 5 ½”
2) Mats for the outside of the card are 2 ¾” sq and 2 ½” sq
3) Mats for the inside of the card are 4” x 5 ¼” and 3 ¾” x 5”
4) Create a cutting template 3” sq as shown, this will be the cutting guide for the top right corner of your card base.
You will cut from the 3” mark up to ⅝” from the top and right edges of the card.
5) Once this cut has been made you will gently push the inside point of the corner up toward the top right corner.
The two uncut ⅝” sections will fold at an angle to make the “flip fold”.
6) Decorate the card as you like.






By Janet
June 2022
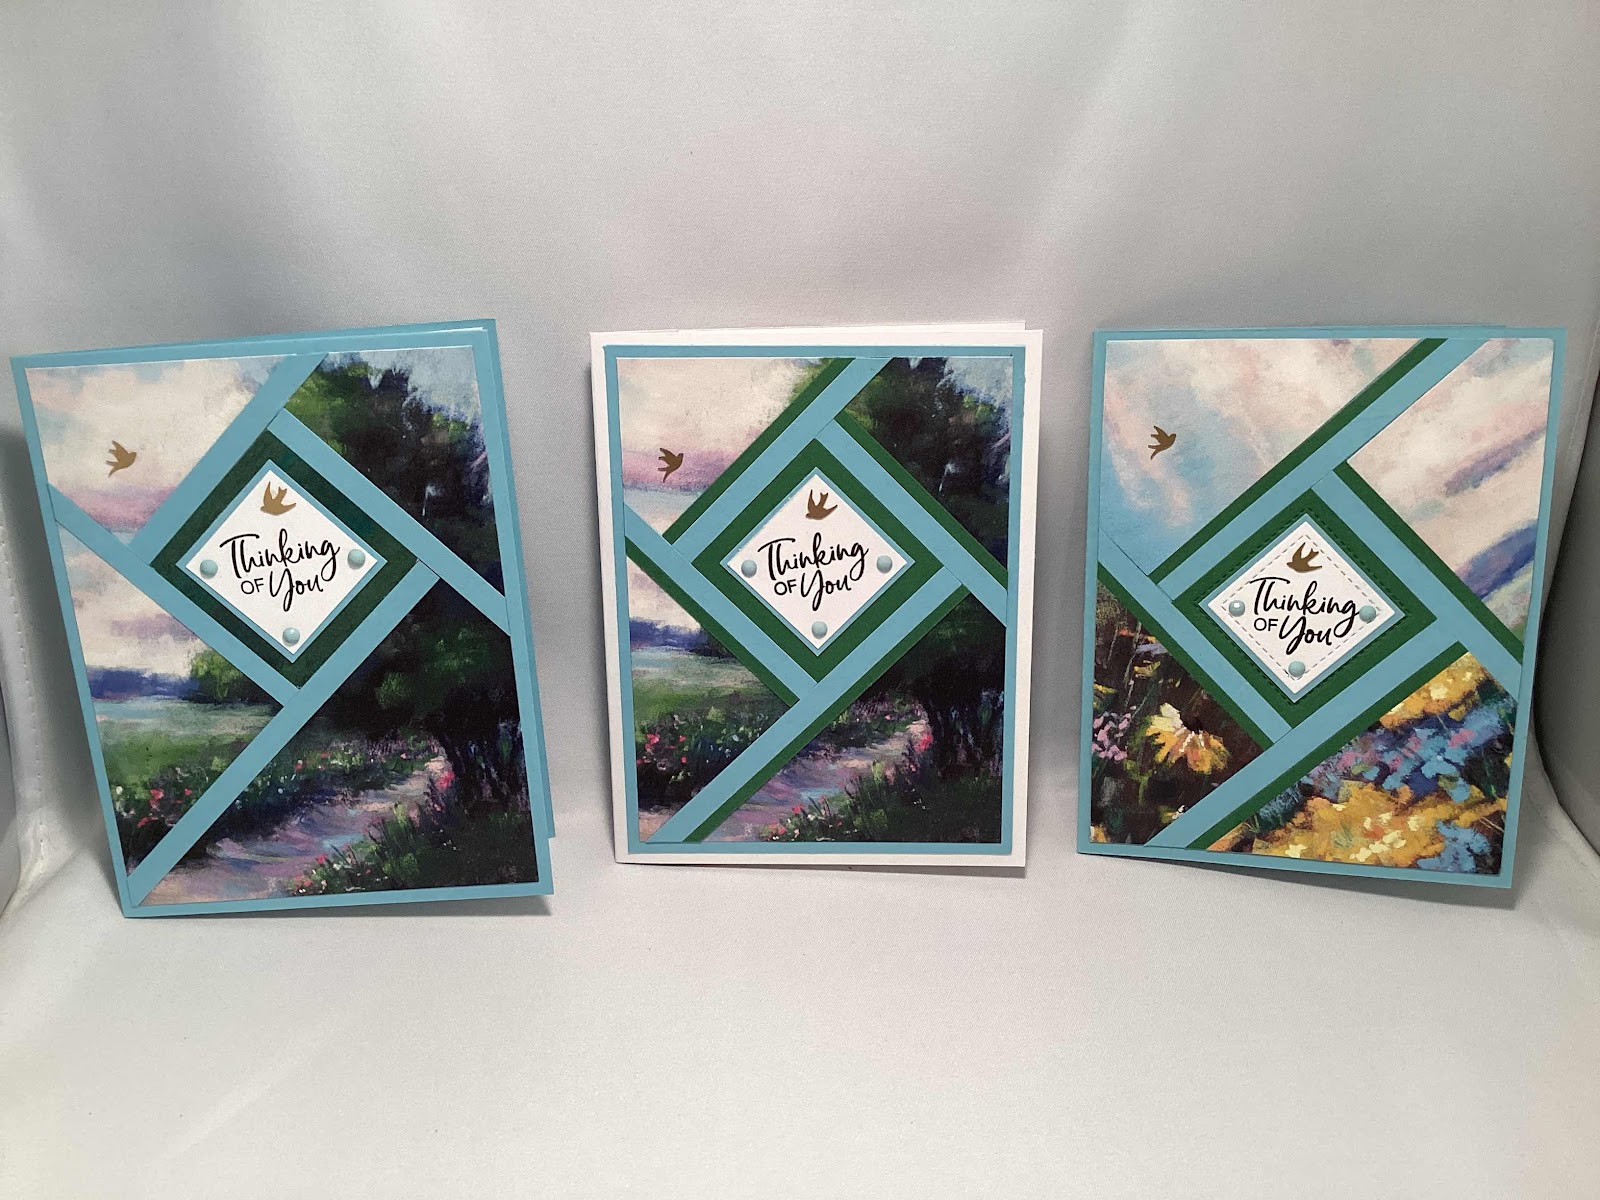
The book binding card fold is a very simple design that adds a little something to your card. It is called “book binding” because the folded edge is glued down about ¾” or 1” from the edge causing your card to have a binding that does not open.


Cut your paper 11” x 4 ¼”
Score at 5 ½” and 4 ¼” along the long edge
Glue the 1 ¼” binding to form the book binding edge
Mats are cut 4” x 4” and 1” x 4”


or
Cut 8 ½” x 5 ½”
Score at 4 ¼” and 3 ¼”
Glue the 1” binding to form the book binding edge
Mats are cut 3” x 5 ¼” and ¾” x 5 ½”


By Janet
June 2022

1) Create a frame or border on your card, mat or design element


2) Create a patterned mat by covering the entire piece with various repeating designs of washi tape


5) Use washi tape for masking (for sprays or ink blending, then remove to reveal the design)


10) Use washi tape to seal the envelope or decorate envelopes (leave enough space at the bottom front for the bar coding or you may have to pay extra for it not being machinable)


More ideas
a) Keep washi tape at your die cutting machine to keep dies from moving around when cutting
b) Use washi tape on the back of cut dies to keep all of the pieces together
c) Use washi tape to keep a mat adhered to a stencil so the stencil doesn’t move around. If you want the entire mat stenciled turn the stencil and the mat over and tape the mat to the back of the stencil.
d) Use washi tape folded over on the door to your Misti for an easy way to lift the door.
e) Make a flap on your Misti magnets so you can grab them easily.
f) Use colors to mark my blending brushes for various color families.
Products used on my 4th of July samples – many from supplies that haven’t see any love in a very long time.
Recollections seasonal washi tape
The Stamps of Life – stamps and dies
Spellbinders – star layered dies
Mrs. Grossman’s stickers
Reminisce Stickers
Twine
Twisted paper raffia (for the lack of a better description)
Ribbon
Brads
Tags
Distress inks for blending, stenciling and stamping
Distress sprays for stenciling
Embossing Folders