Wednesday, June 1, 2022

Book Binding Card Fold and Washi Tape Uses


 Book Binding Card Fold

By Janet

June 2022


The book binding card fold is a very simple design that adds a little something to your card.  It is called “book binding” because the folded edge is glued down about ¾” or 1” from the edge causing your card to have a binding that does not open.  


An added idea is that instead of gluing down the entire edge, just put glue at the top and bottom of the binding edge.  This will create a little pocket that allows you to slide in a gift card for a little something extra.

You can make a horizontal or vertical card depending on how you cut your paper.  Below are the measurements and score lines for each size/shape:

Cut your paper 11” x 4 ¼”

Score at 5 ½” and 4 ¼” along the long edge

Glue the 1 ¼” binding to form the book binding edge

Mats are cut 4” x 4” and 1” x 4” 


or


Cut 8 ½” x 5 ½”

Score at 4 ¼” and 3 ¼”

Glue the 1” binding to form the book binding edge

Mats are cut 3” x 5 ¼” and ¾” x 5 ½”


Check out my Pinterest Board for more book binding ideas


Washi Tape Uses

By Janet

June 2022


Check out my Pinterest Board for more washi tape ideas


1)               Create a frame or border on your card, mat or design element


2)               Create a patterned mat by covering the entire piece with various repeating designs of washi tape


3)               
Weave strips of washi tape along two edges or the entire piece


4)               Place strips of washi randomly across the piece (angled, striped, etc)


5)               Use washi tape for masking (for sprays or ink blending, then remove to reveal the design)


6)               Die cut shapes from washi covered cardstock


7)               
You can even use an embossing folder to dry emboss washi tape


8)               Make paperclip flags or banner buntings from washi tape


9)               
Use washi tape inside the card to decorate the inside


10)           Use washi tape to seal the envelope or decorate envelopes (leave enough space at the bottom front for the bar coding or you may have to pay extra for it not being machinable)


More ideas


a)      Keep washi tape at your die cutting machine to keep dies from moving around when cutting

b)      Use washi tape on the back of cut dies to keep all of the pieces together

c)      Use washi tape to keep a mat adhered to a stencil so the stencil doesn’t move around.  If you want the entire mat stenciled turn the stencil and the mat over and tape the mat to the back of the stencil.

d)      Use washi tape folded over on the door to your Misti for an easy way to lift the door.

e)      Make a flap on your Misti magnets so you can grab them easily.

f)       Use colors to mark my blending brushes for various color families.


Products used on my 4th of July samples – many from supplies that haven’t see any love in a very long time.

Recollections seasonal washi tape

The Stamps of Life – stamps and dies

Spellbinders – star layered dies

Mrs. Grossman’s stickers

Reminisce Stickers

Twine

Twisted paper raffia (for the lack of a better description)

Ribbon

Brads

Tags

Distress inks for blending, stenciling and stamping

Distress sprays for stenciling

Embossing Folders

Monday, March 8, 2021

St. Paddy’s Day

This year’s St Patrick’s Day cards are in the mail!   I used The Stamps Of Life fold-it die from the Sweet Treats card class and the large die from Shamrocks4us dies.  I put the shamrock on a wobble for some fun action.


I also made some special cards for the wee folks in our life using the leprechaun2stamp and rainbow2stamp dies.   I love how each set came out.  


Valentine’s Day Cards

I had great fun with The Stamps of Life card kit from December 2020 called “With Love”. I made 16 mini flip cards for my granddaughter’s class 

I also made 4 A2 size flip cards for her teachers. 

I did not have any extra LoveBugs for my cards to mail so I sent three from an older TSOL card kit. 


Wednesday, May 27, 2020

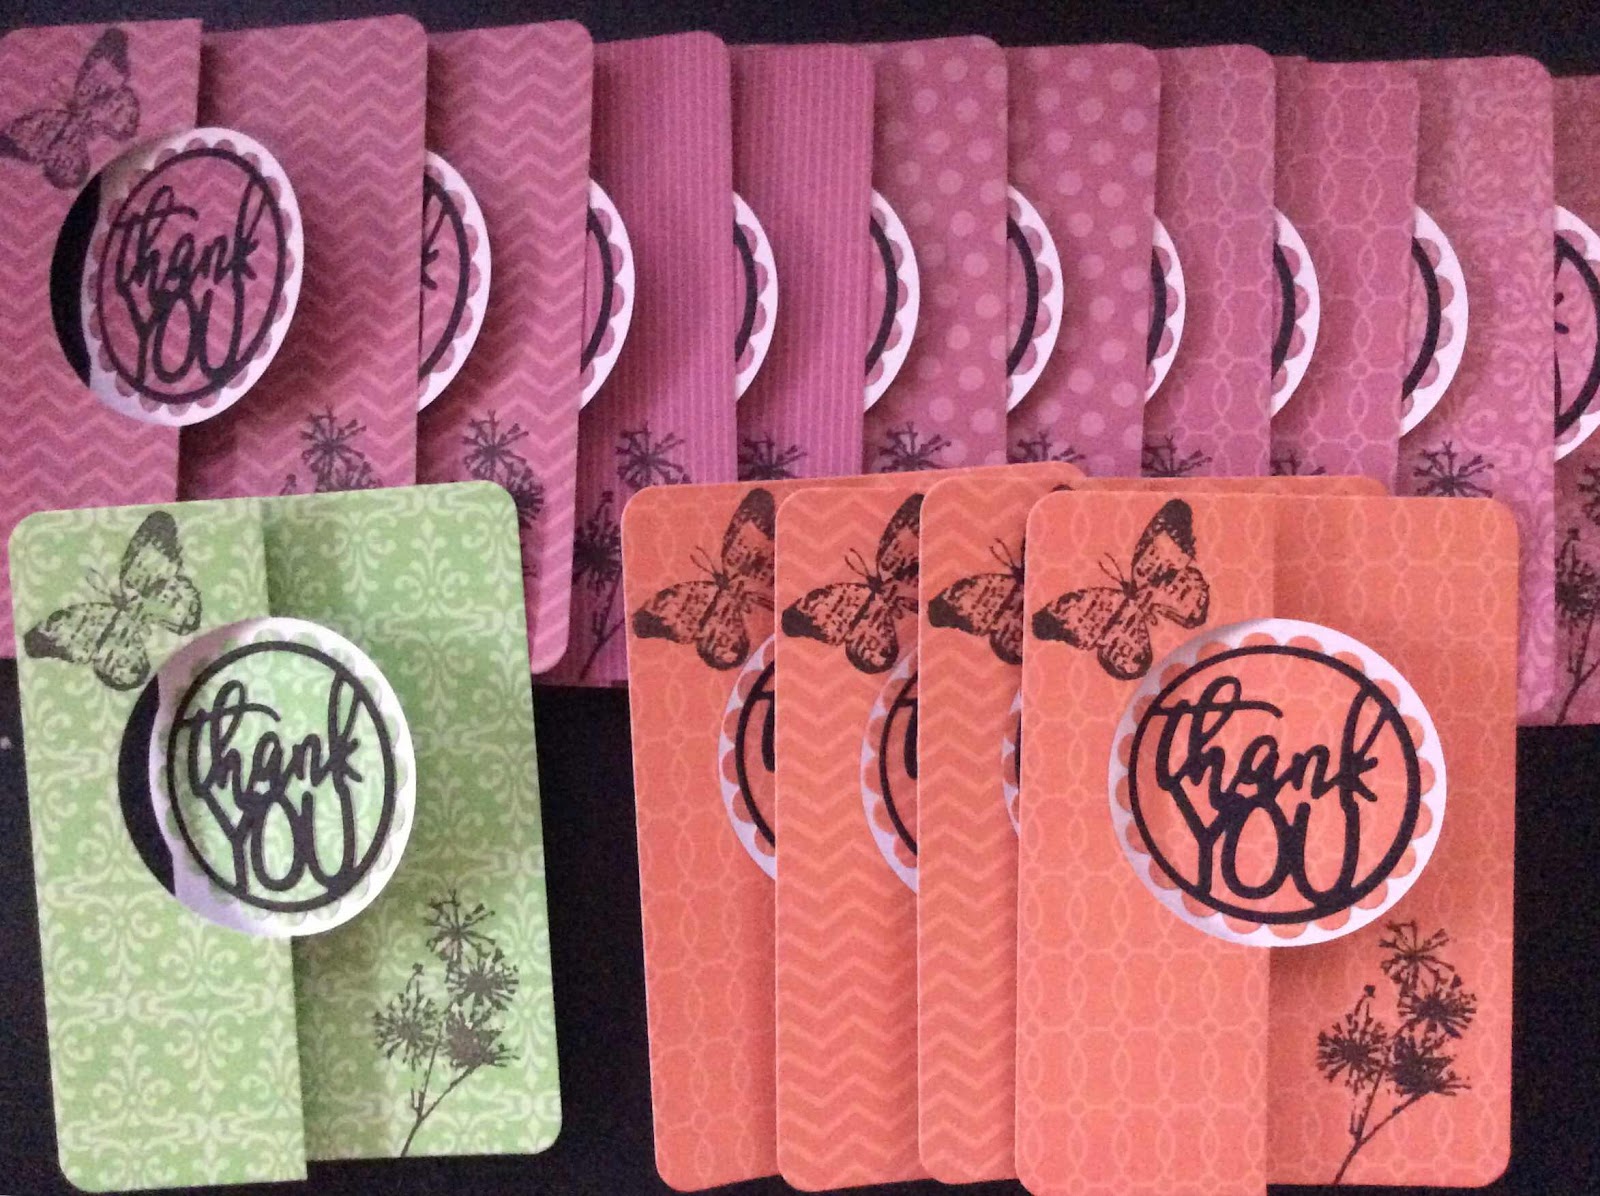
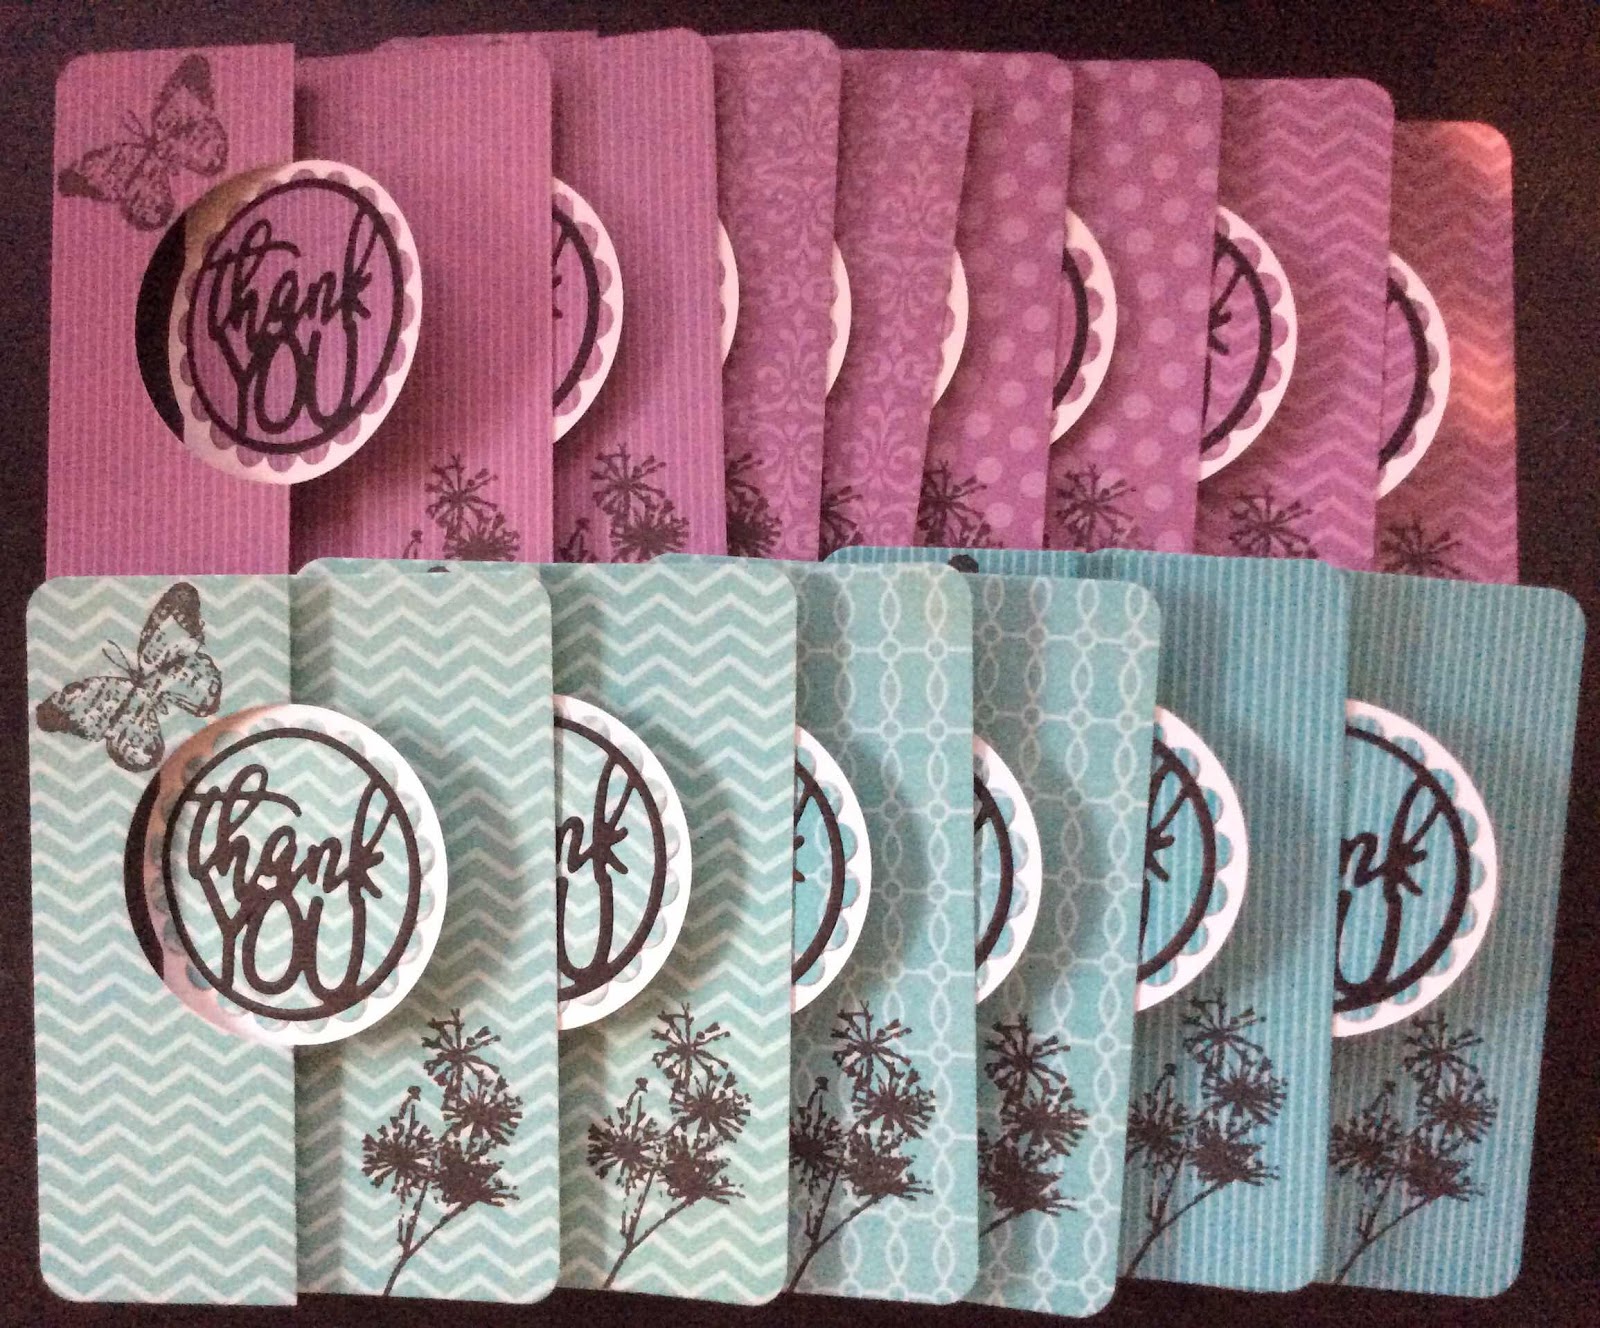
Set of Thank You Cards


I made a set of thank you notes from papers sent to me by a friend.  I used two framelit dies in my card making supplies to make fast work of them. After making the first sample I thought it needed a stamp or two so I looked through what I had on hand and found a set of clear stamps from Tim Holtz called Nature’s Elements that worked perfectly.


Wednesday, July 10, 2019

Texas Crafthouse Retreat 2019

It's time!!!  I'm ready!!!  I know it will be a great weekend and I look forward to making many new friends.

I wanted to share a larger copy of my recipe here.  I made it last night, but the swap card is so small my old eyes were having difficulties.  I thought the stains on my book added character to the layout as well as documents the number of times I've used the recipe.  It's easy and delish... I hope you all enjoy it.


Monday, September 17, 2018

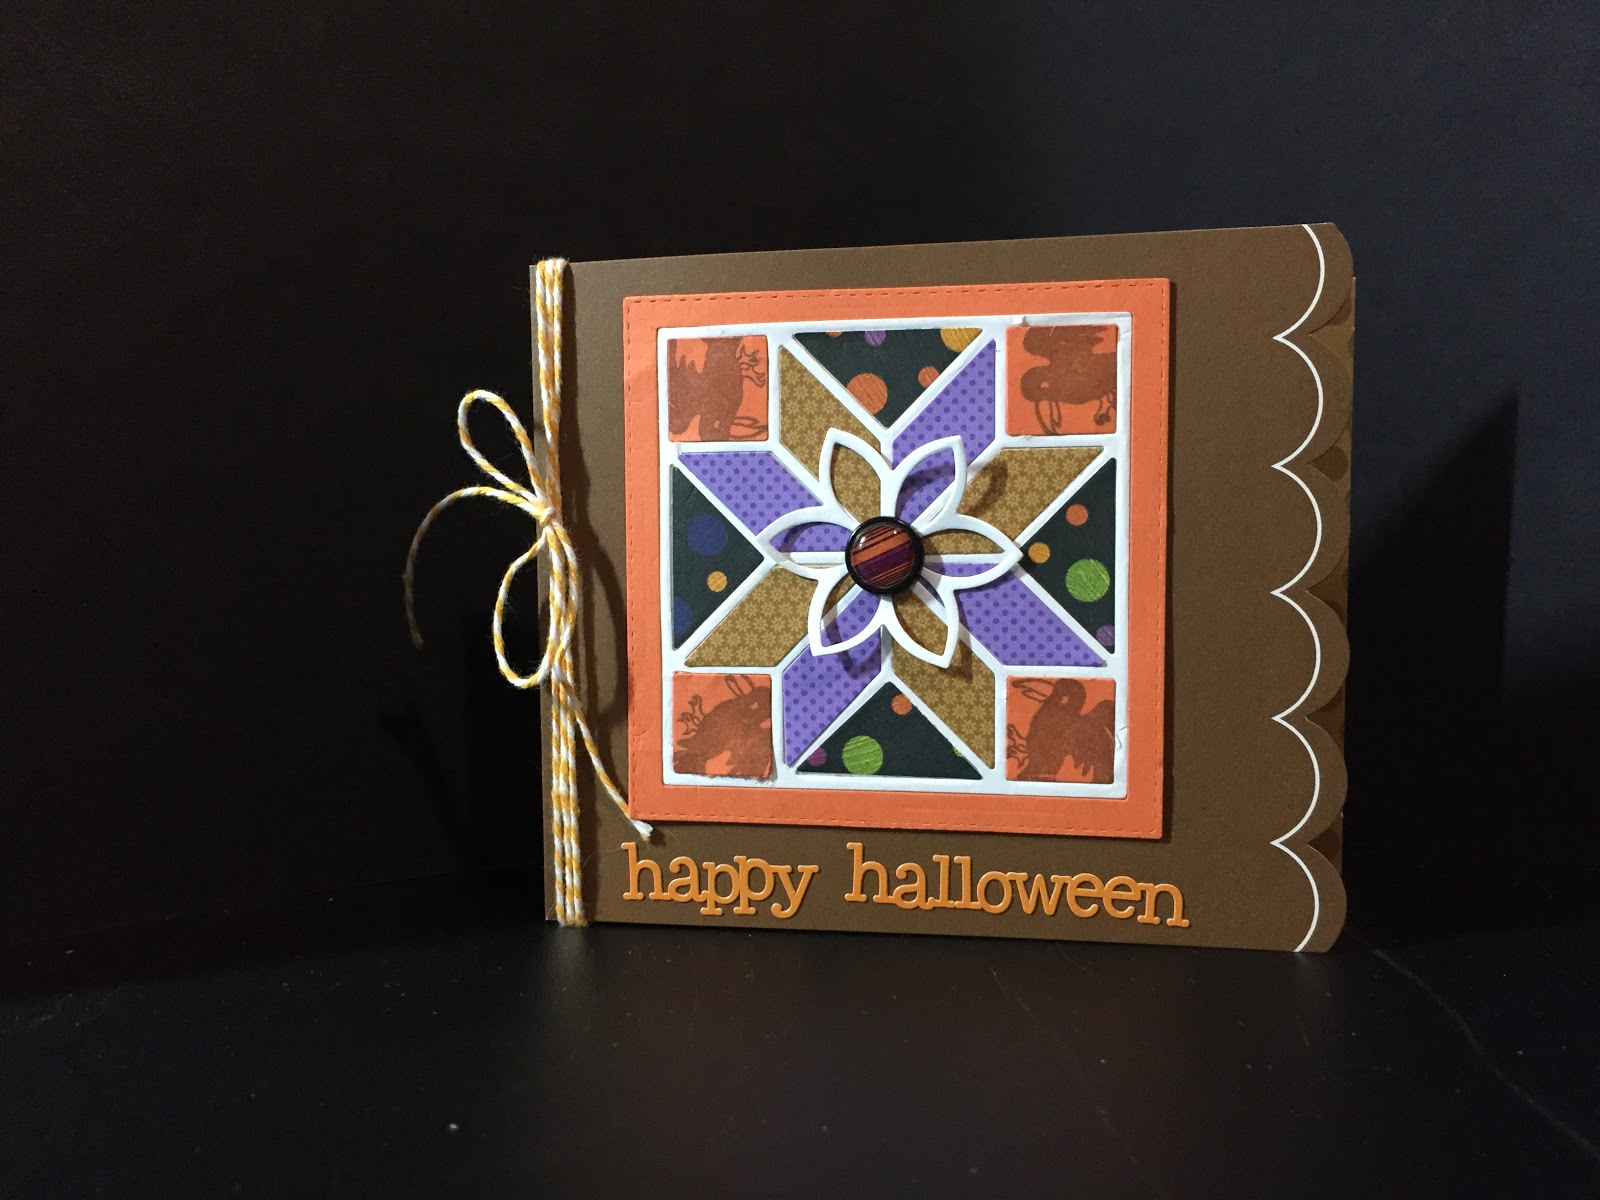
A Quilted Halloween

I have been having lots of fun with the quilted dies. Look at the cool Halloween cards I created this week.  This is created with the Stampin' Up Christmas Quilt Stamp & Die Set and Doodlebug papers.