Stamp & Dies Set Thoughtful Expressions
Poetic Expressions DSP1st sheet front mat & smaller inside mat cut 4” x 5 ¼” and 3 ½” x 4 ¾”
Coordinating 2nd sheet cut 4 x 5 ¼” inside mat, outside focal mat 2 ¾” x 2 ¾” and scrap for label
Coordinating Cardstock Cut 5 ½” x 8 ½”, score at 4 ¼”
Basic White Cut 3” x 4 ¼” inside mat, 2 ½” x 2 ½” outside focal mat and 1 ½” x 2 ½” for label &sentiment
Bling Tinsel Gems Three-pack
Instructions:
1) Cut a card base 8 ½” x 5 ½”, score at 4 ¼”
2) Mats for the outside of the card are 2 ¾” sq and 2 ½” sq
3) Mats for the inside of the card are 4” x 5 ¼” and 3 ¾” x 5”
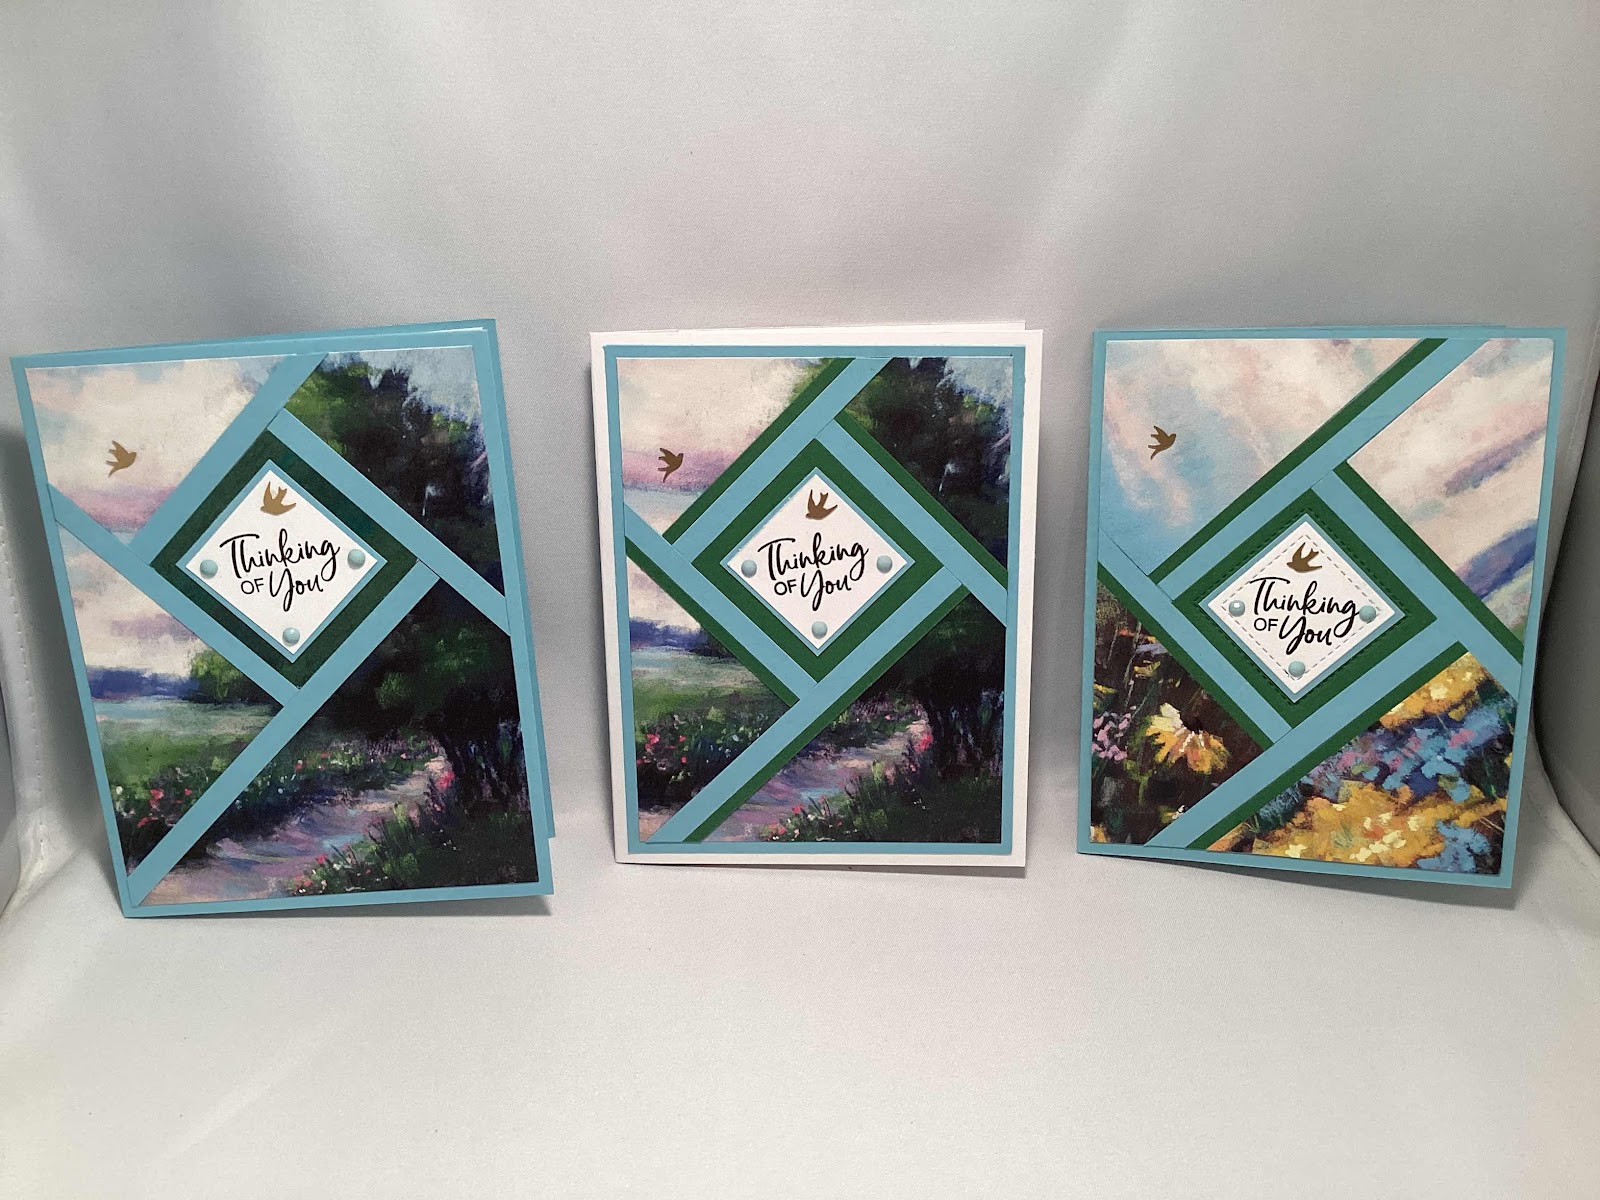
4) Create a cutting template 3” sq as shown, this will be the cutting guide for the top right corner of your card base. You will cut from the 3” mark up to ⅝” from the top and right edges of the card.
5) Once this cut has been made you will gently push the inside point of the corner up toward the top right corner. The two uncut ⅝” sections will fold at an angle to make the “flip fold”.
6) Decorate the card as you like.
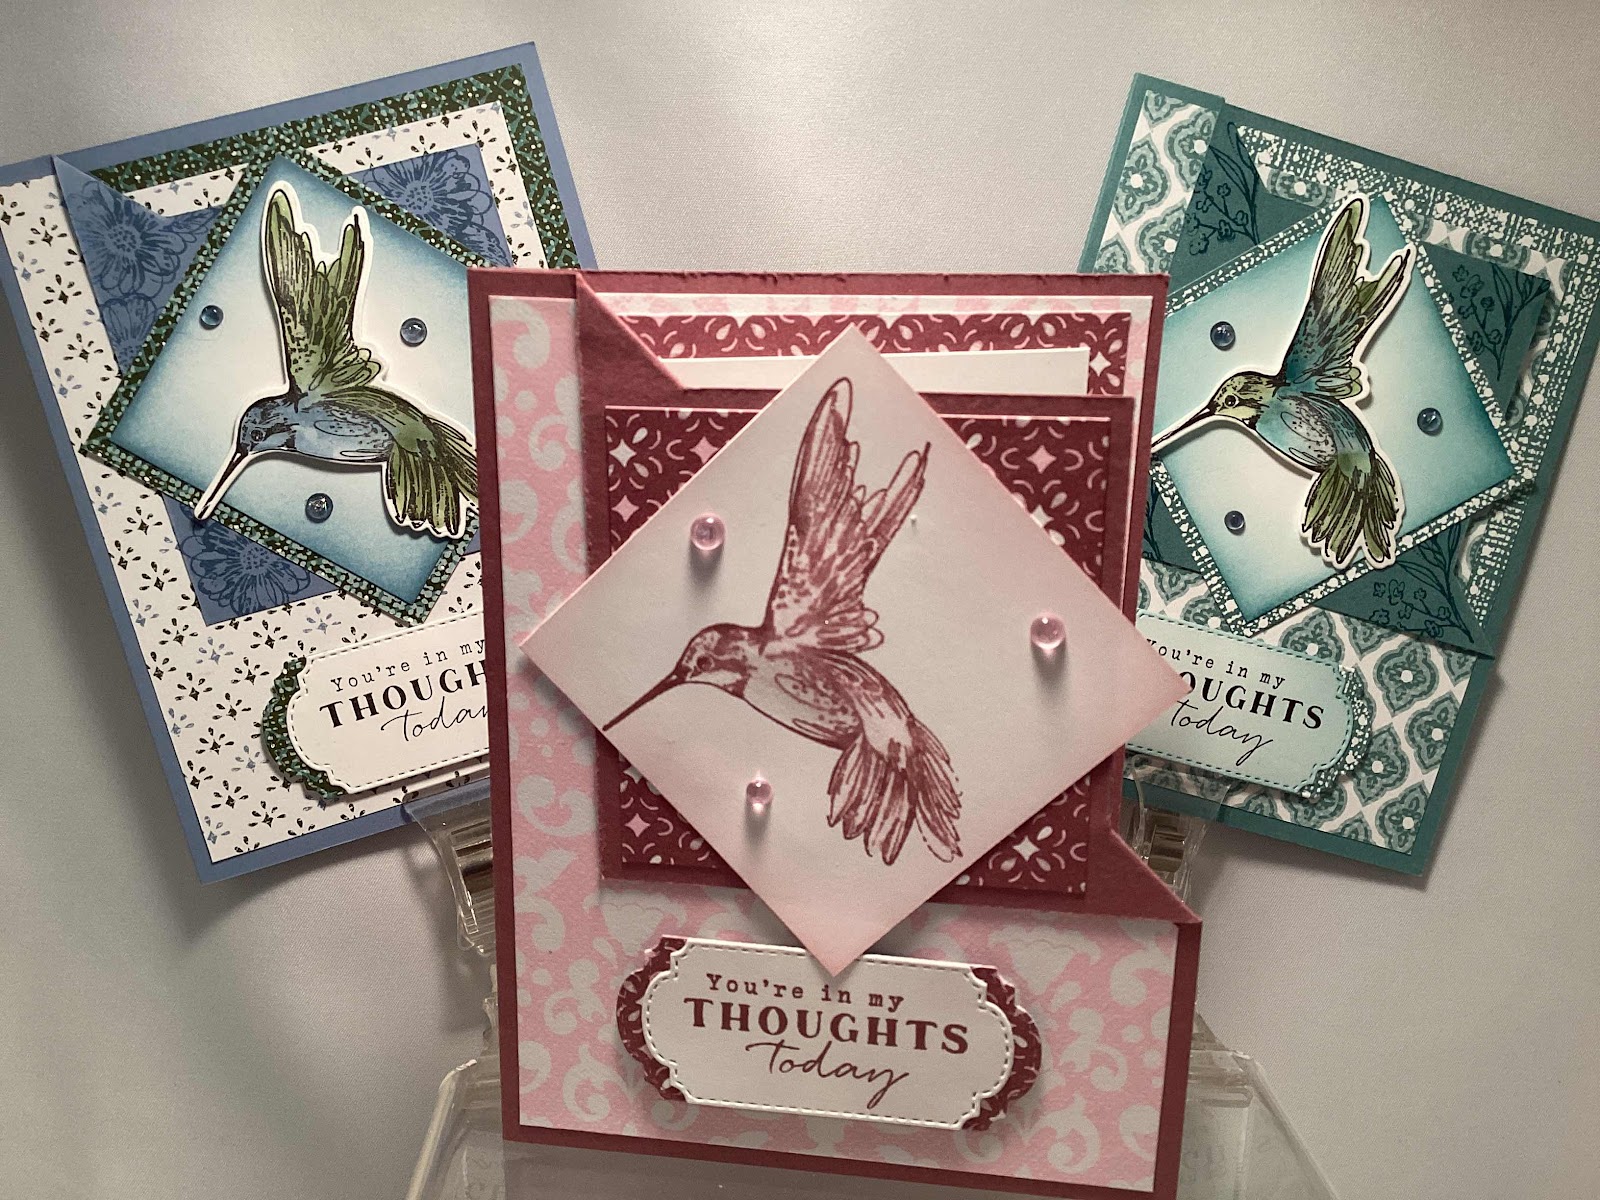
For the Moody Mauve design I simply stamped the hummingbird with Moody Mauve ink and blended it out a bit with the shimmer pen.
For the next two sets I simply water colored the humming birds with coordinating ink and then added some glitter pen.
I didn’t like the white inside mat showing so I just offset it to the left and added a second generation image to the mat.


Stamp Set
Simply Zinnia
Optional Embossing Folder
Zinnia 3D Folder
Flowering Zinnia DSP
Cut border sheet in strips 1 ½” x 4 1/8”
fussy cut flowers from sheet with flowers on white background
Mossy Meadow Cardstock
Cut 4 ¼” x 11”, score at 5 ½”
Old Olive Cardstock
Cut 4” x 5 ¼” inside mat, 2 ¾” x 2 ¾” outside focal mat
Basic White
Cut 3 ¾” x 5” inside mat, 2 ½” x 2 ½” outside focal mat and ½” x 3 ¼ for sentiment
Bling
Shiny Sequins
Instructions:
1) Cut a card base 4 ¼” x 11”, score at 5 ½”
2) Mats for the outside of the card are 2 ¾” sq and 2 ½” sq
3) Mats for the inside of the card are 4” x 5 ¼” and 3 ¾” x 5”
4) Create a cutting template 3” sq as shown, this will be the cutting guide for the top right corner of your card base.
You will cut from the 3” mark up to ⅝” from the top and right edges of the card.
5) Once this cut has been made you will gently push the inside point of the corner up toward the top right corner.
The two uncut ⅝” sections will fold at an angle to make the “flip fold”.
6) Decorate the card as you like.