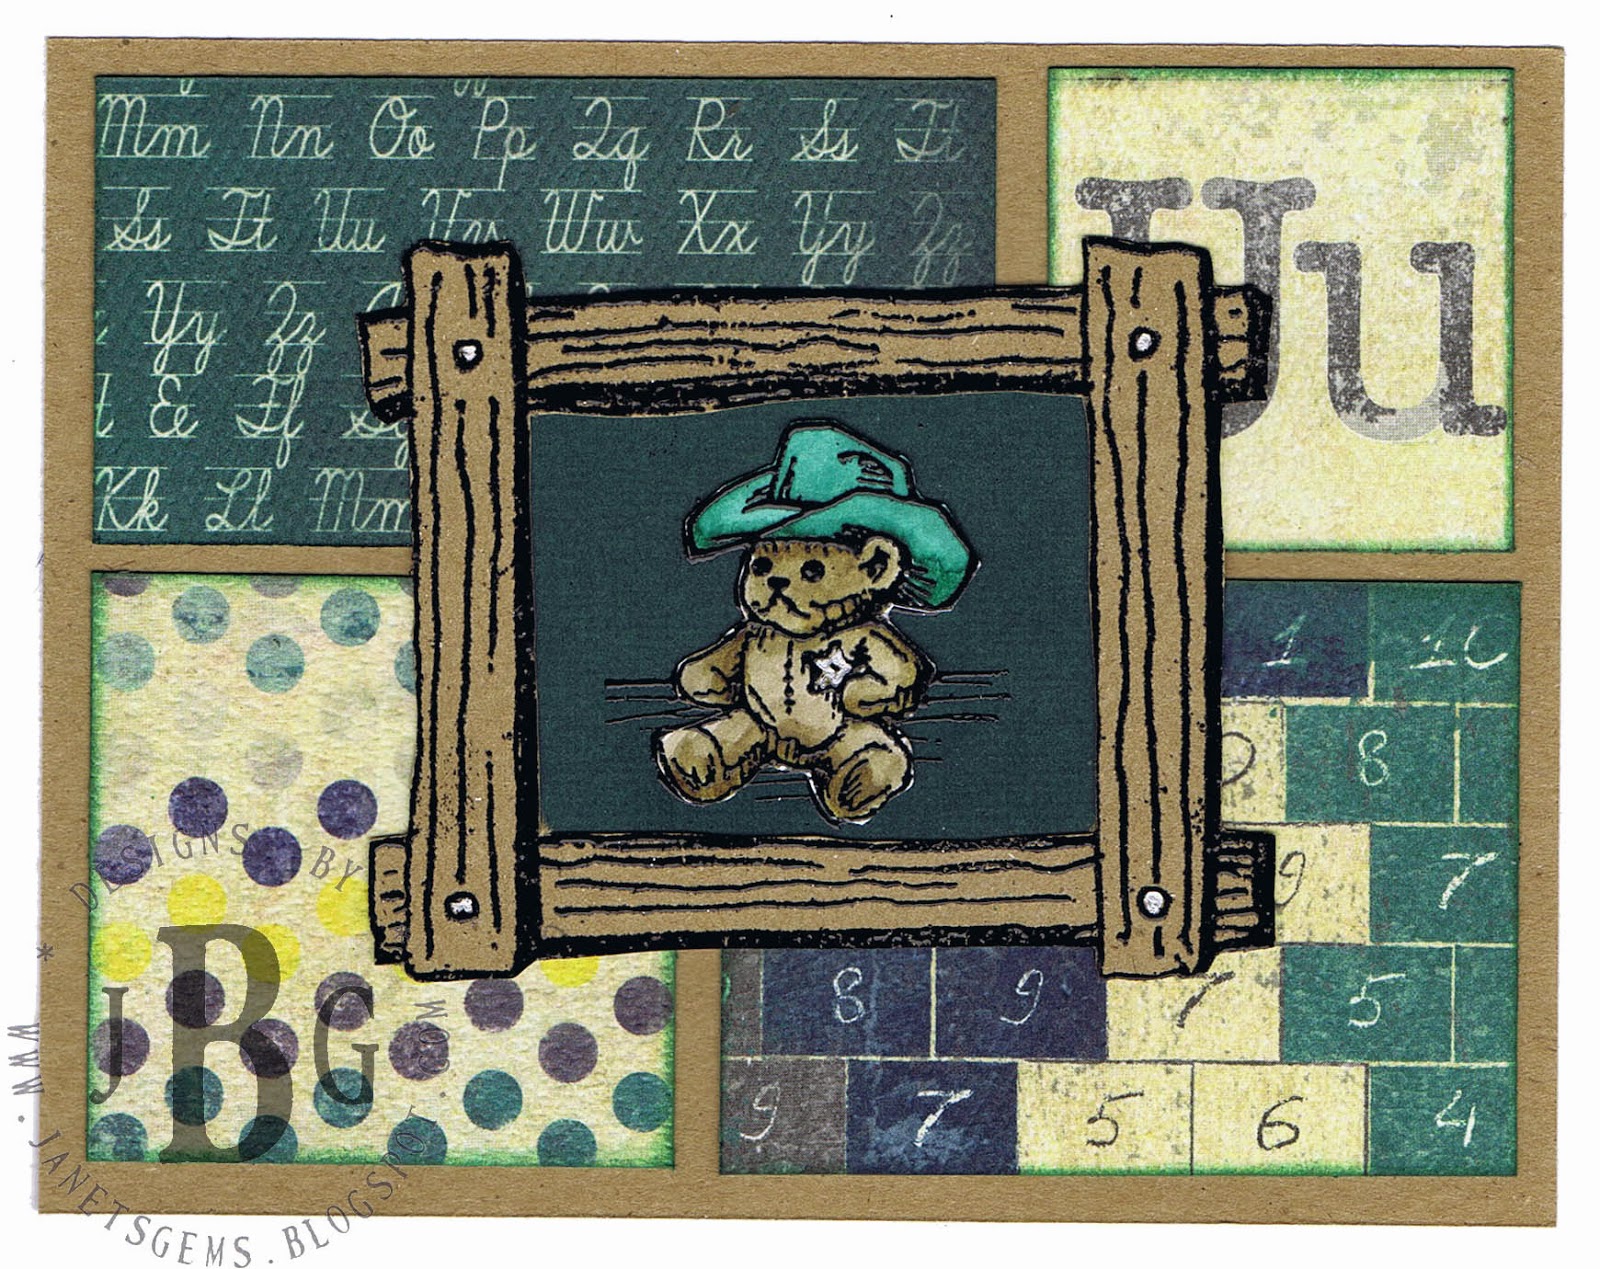
Here are three samples that I made for the Texana Design Team using Baby Bear and Baby Bear (mini). I also used the wooden frame with the mini.
The paper is Authentique's Curiosity Collection. I love the way the papers go together. I chose Distress Inks and Markers to watercolor the bear and ink the edges of the papers.
The sample below is using the Baby Bear (large) stamp. I was practicing my shading with the Distress markers. All I can say is "I've come a long way" and I like it. I used the Tim Holtz Alterations dies - Baroque and the movers and shapers Baroque. Then I ran the tan large die through the Tim Holtz woodgrain texure fade. I went over the embossing with the foam applicator and the same Pine Needles Distress Ink.
If you want to see the entire product list and a couple another sample or two check out the Texana Blog.
Thursday, September 26, 2013
Tuesday, September 24, 2013
Dragonfly - Oh Happy Day!
Here are three cards I made using the Texana Designs dragonfly stamps. I just love the movement in the image. The dragonflies remind me of summer and summer in Texas brings thoughts of cooler fall weather. The BoBunny Forever Fall paper pad was perfect. Pictures never seem to do justice to the cards. Look at the detail on the dragonfly below. I stamped it on the background paper and then stamped it again on the teal paper. I cut out the teal dragonflies and used glossy accents on the body. I used clear rock candy stickles for the glitter. The teal dragonfly was popdotted for added dimension. I must say, these are at the top of my list of favorite cards.
-->
-->
Texana Designs
Stamps:
Dragonfly, large
Dragonfly, mini
Sentiment: Oh Happy Day
Distress Inks
Distress Stickles –
Clear Rock Candy
Glossy Accents
BoBunny
Forever Fall
Collection
6x6 paper pad
Texana Design Team
07/15/2013
Monday, September 23, 2013
Longhorn Santa Samples
Texana Designs
Stamps:
Santa Longhorn, lg
Sentiments: Sm “Merry Christmas Y’all”
Distress Ink –
Chipped Sapphire applied to embossing folder
(top sample on glossy cardstock, bottom sample on plain cardstock)
Peeled Paint to edges
Die’sire
Embossalicious Folder – I Believe!
Die-Namics Die - Snow Drifts
Poppystamps Die – Pine Tree Border
Distress Markers – Pumice Stone, Festive Berries
& Fired Brick
Distress Glitter –
Rock Candy
Texana Design Team
09/15/2013
Sunday, September 22, 2013
Creative Chemistry 102
Besides, it's good motivation to get my stuff organized :)
Saturday, September 21, 2013
Dyan Reaveley "Dylusions"
| Where's Jimmye Sue? Where's Janet? |
Even after an eight hour class on Sunday and three classes the day before, Dyan took time to visit and autograph our journals. Thanks Dyan for making it so worth the roadtrip.As a matter of fact, Dyan's coming back to Texas in October and I've talked Jeanie into attending one of her classes with me at Stamp Antonio.
Friday, September 20, 2013
Halloween Words Cards
Here's a fun card I made using different techniques learned in the Tim Holtz Creative Chemistry 101 class last year.
I stamped the Halloween words by applying distress ink directly to the stamp. I stamped another by applying distress ink to my craft mat and misting with water. I stamped the majority of them with a custom stamp pad using Cut-n-Felt with Distress Reinkers. Then embossed the words in the texture fade that matched the words. I blended distress ink around the edges. I matted the card on coordinating cardstock and centered it on a black card. The die tree and raven are from the Tim Holtz Sizzix collection. Inside I used the same color cardstock and matted the signature panel. I stamped the owl from the Tim Holtz Stampers Anonymous Halloween Cutouts CMS139. The sentiment is from Inky Antics' Halloween Witch set 11116MC.
Now.... who will get one?
Thursday, September 19, 2013
Your friendship is like a gentle warm breeze.
Here are two more ceramic pieces Jillian and I made at Ceramic Lodge.
1) First step was to roll out Armadillo White Clay 1/4" thick
2) Then firmly stamp image into the clay - this takes lots of practice to get it just right, not too light, not to deep, etc. I need more practice, but this was my first attempt to step outside of my comfort zone and try something different.
3) Trim around the image - for this sample the cut was freehand outlining the stamp of the stamp. Other samples I used a tool like a cookie cutter to cut shapes.
4) The clay must dry for about a week before the first firing in the kiln.
Ceramic Lodge fired the clay and I returned to paint the bisque.
1) This time I used the writer pens filled with the Mayco glaze, I carefully painted the longhorn, windmill, cactus and ground. I am not satisfied with the polka dotted longhorn, but I didn't know how to fix that without creating a bigger mess. I talked Jillian into painting the inside of the words (she's had more practice and a much steadier hand). Thanks Jill!
2) When finally satisfied, the pieces were left to be dipped in a clear coat and fired a second time.
3) These were a bit too heavy for a magnet but work well on a small easel.
If you are a stamper and want to try something different just swing by the store. The store is located at Chisholm Trail directly across from the post office just south of Sam Bass or visit them on facebook . If you are a ceramic enthusiast and want to try Texas styled stamps in your works of art visit check out Texana Designs or check out their facebook pages.
I'll be posting other samples of my ceramic creations shortly (yes I have more) - Janet
1) First step was to roll out Armadillo White Clay 1/4" thick
2) Then firmly stamp image into the clay - this takes lots of practice to get it just right, not too light, not to deep, etc. I need more practice, but this was my first attempt to step outside of my comfort zone and try something different.
3) Trim around the image - for this sample the cut was freehand outlining the stamp of the stamp. Other samples I used a tool like a cookie cutter to cut shapes.
4) The clay must dry for about a week before the first firing in the kiln.
Ceramic Lodge fired the clay and I returned to paint the bisque.
1) This time I used the writer pens filled with the Mayco glaze, I carefully painted the longhorn, windmill, cactus and ground. I am not satisfied with the polka dotted longhorn, but I didn't know how to fix that without creating a bigger mess. I talked Jillian into painting the inside of the words (she's had more practice and a much steadier hand). Thanks Jill!
2) When finally satisfied, the pieces were left to be dipped in a clear coat and fired a second time.
3) These were a bit too heavy for a magnet but work well on a small easel.
If you are a stamper and want to try something different just swing by the store. The store is located at Chisholm Trail directly across from the post office just south of Sam Bass or visit them on facebook . If you are a ceramic enthusiast and want to try Texas styled stamps in your works of art visit check out Texana Designs or check out their facebook pages.
I'll be posting other samples of my ceramic creations shortly (yes I have more) - Janet
Subscribe to:
Posts (Atom)


